Vertical Customs Paint Tutorial
Because I cannot paint every car out
there, here is a tutorial on a method of doing a custom paint
job the Vertical Customs way. For this demonstration, I will be
using an Xmods 2006 Mustang, provided by Shapecharge. If you plan
on using this tutorial to your benifit, I suggest you read all
the way through before trying it.
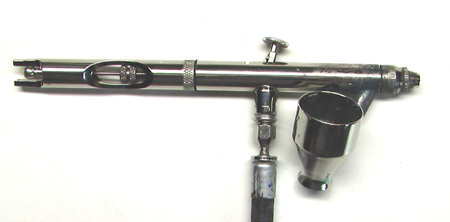
When I paint, I usually use an airbrush.
This one, a Badger Anthem Model 155, is what I use most. It is
a dual action, bottom feed airbrush.
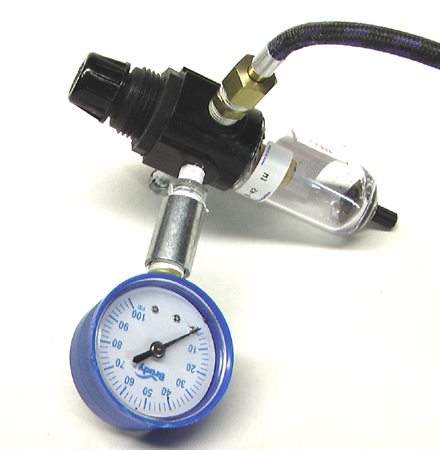
 If you invest in an airbrush, you will
also need one of these: a pressure regulator. This will allow
you to hook up the brush to most air compressors and run the minimum
air pressure you need without harming the airbrush. I normally
adjust my regulator between 6 and 25 psi (pounds per square inch),
depending on the level of detail or the thickness of paint I am
spraying.
 The first step is to completely disassemble
the car, making sure to also remove all of the light lenses and
other pieces you do not want painted. On Xmods, the lenses can
be removed by cutting the backside of their support pins with
a hobby knife. Then just push them out from the back.
 Following disassembly, mask off the
windows with plastic tape. It is similar to electrical tape, but
with less glue on the back. The kind I use is made by 3M, and
it comes in a variety of colors. When you apply it to the windows,
go around the edge with the hobby knife to remove the excess tape.
 When everything is masked to your satisfaction,
start sanding the gloss off the original paint color. I use 400
grit sandpaper at this stage. You do not have to completely take
off the original paint, but it should no longer be glossy.
I do not use primer when I paint because
of numerous bad experiences with it, but if the color I am changing
the car to is lighter than its original color, I will start by
applying a light layer of white paint. When you thin down paint
for an airbrush, it should be about the consistency of whole milk.
I use acrylics when I can help it, so thinning the paint just
requires adding more water.
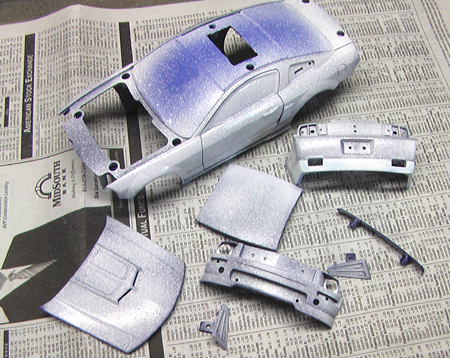 Let that dry, and then go back and
sand it again with 600 grit sandpaper, taking off any rough splotches
that white paint tends to leave.
 For this project, I will be painting
the "Gone in 60 Seconds" Elanor paint scheme.
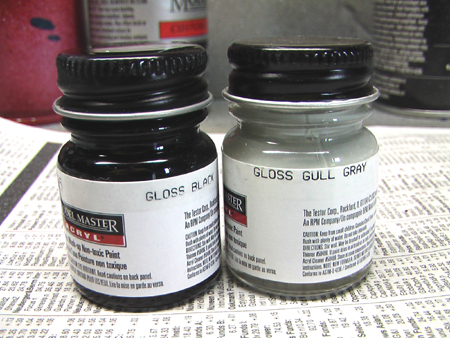
So, I will be using Gloss Gull Gray, and Gloss Black, which will
have a little tint added to it to make it lighter. Again, I go
with acrylics when I can.
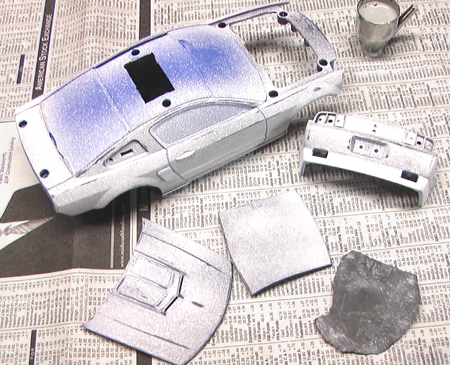
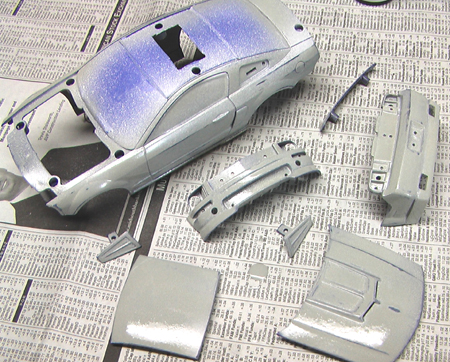
 Wipe off all the sanding dust from
the car and apply your first layer of paint. Always remember to
use thin layers. In this image, you can see that much of the dark
spots from the last sanding can still be seen through the paint
because it is so thin. Let that at least dry to the touch (test
it on the peices of masking tape).
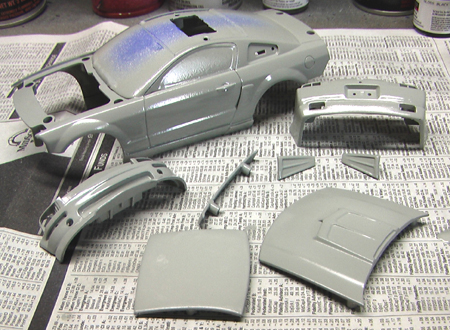
 Add more layers of paint and slowly
build up full coverage on the car, allowing each layer to dry
in between. Here is the car after at least three coats of paint.
 Continue...


